
Install DuckyHelper on your Mac
- Works on Mac only
Download DuckyHelper, drag it to Applications, and open it. Updates then come by themselves.
Film
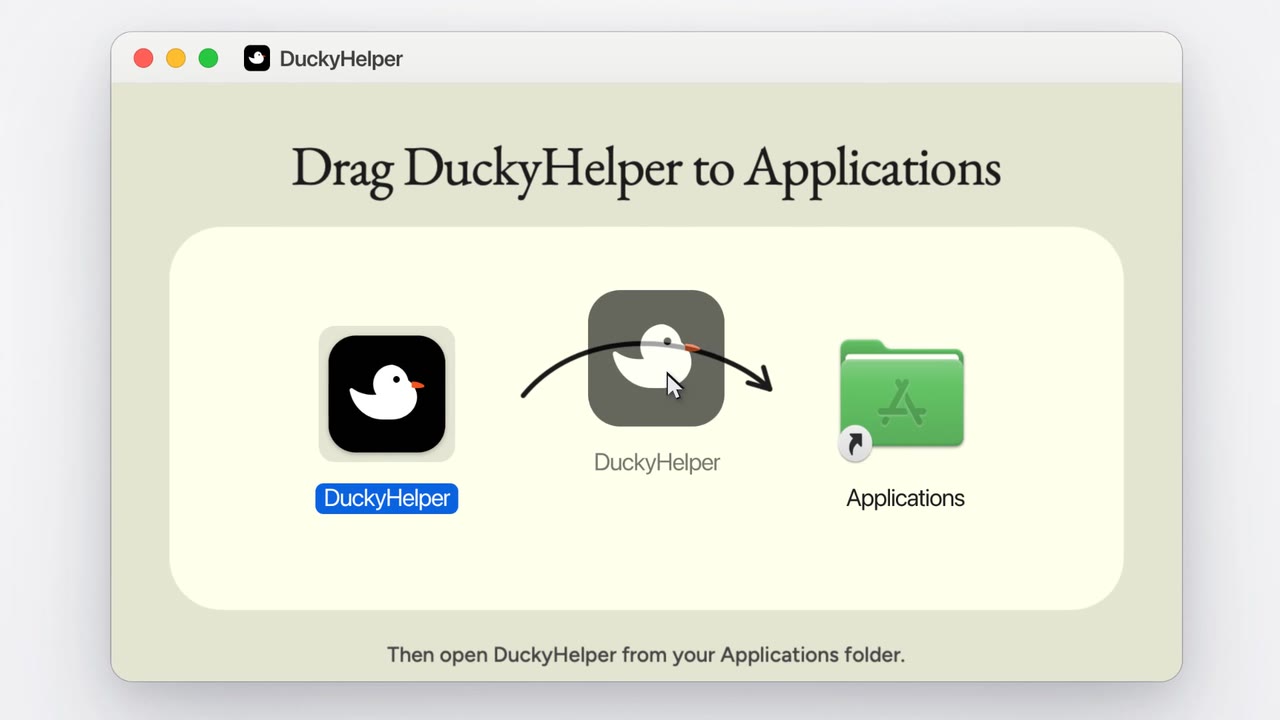
Steps#
- Download DuckyHelper.dmg from duckyhelper.com/download.
- Open it and drag DuckyHelper onto Applications.
- Open DuckyHelper. The first time, macOS asks if you are sure: click Open.
- Opened it straight from the download window? DuckyHelper offers to move itself to Applications: click Move.
- Sign in, then follow the short setup: Set up your Mac.
Updates#
- Updates download in the background and install when you quit, never while the pill is open.
- When one is waiting, the menu bar duck shows a dot and Restart to Update at the top of its menu.
- Check for Updates… in the duck's menu looks right away. Settings > General shows your version.
Open at login#
- Click the duck in the menu bar.
- Choose Launch at Login. (Or Settings > General > Open at login.) Now fn works as soon as you log in.
Uninstall#
- Click the duck in the menu bar and choose Uninstall DuckyHelper… (or Settings > About > Uninstall…).
- Click Uninstall. It removes the app, its settings and local data, turns off Launch at Login, gives the fn key back, and asks macOS to forget its permissions.
Limits#
- Needs a Mac with Apple silicon (M1 or newer) and macOS 14 Sonoma or later.
- Uninstalling keeps your account and progress online.
Related#
Something here out of date? Write to support@duckyhelper.com.